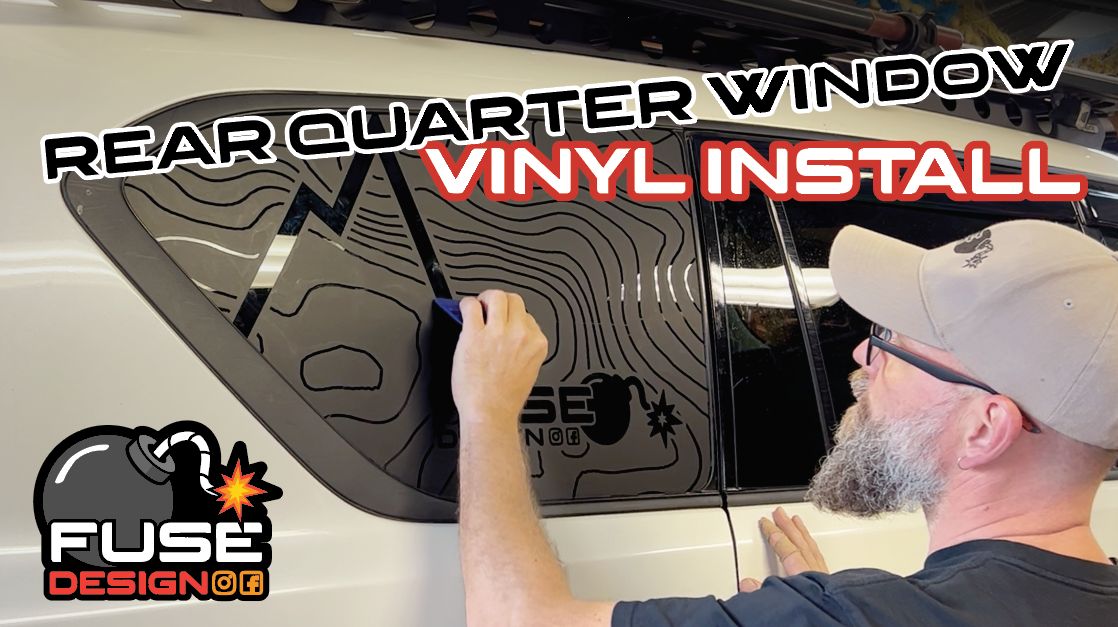
Decal Installation
Your Decal is made up of 3 layers, the top layers is called application tape, it allows you to transfer the sticker to the surface you want to stick it to. The next layer is the sticker itself. The bottom layer is the backing paper.
REFRESH APPLICATION TAPE
During shipment the application tape (light adhesive paper/plastic on top of your graphic) may lift and form tunnels or appear to be wrinkled. It is very important to lay your graphic flat and squeegee down the application tape with a plastic squeegee, credit card or even your finger. This freshens the bond of the application tape to the vinyl lettering.
CLEAN
Clean the surface with rubbing alcohol. Do not use window cleaner, ammonia based cleaners or soaps. Allow time to dry.
REMOVE BACKING
Place the decal face down carefully peel off the backing tape, if any parts of the decal stick to the backing just place it back on and re-rub to stick it to the application tape.
APPLY DECAL
Make sure the surface you are applying your decal to is out of the sun and not hot. Apply your decal and use a squeegee, credit card or your thumb and rub the decal onto the window.
REMOVE APPLICATION TAPE
Now remove the application tape, start in the corner and ensure that you pull it along the window not away from the window, if any of the decal sticks to the application tape as you are removing it, stop and roll the tape back down and re-rub the decal. Occasionally when applying larger decals you may get small air bubbles, these will disappear over time, (can take 2-3 weeks)
VIDEO INSTALLATION - Rear Quarter Window Decal - Wet Method
Installation Kit
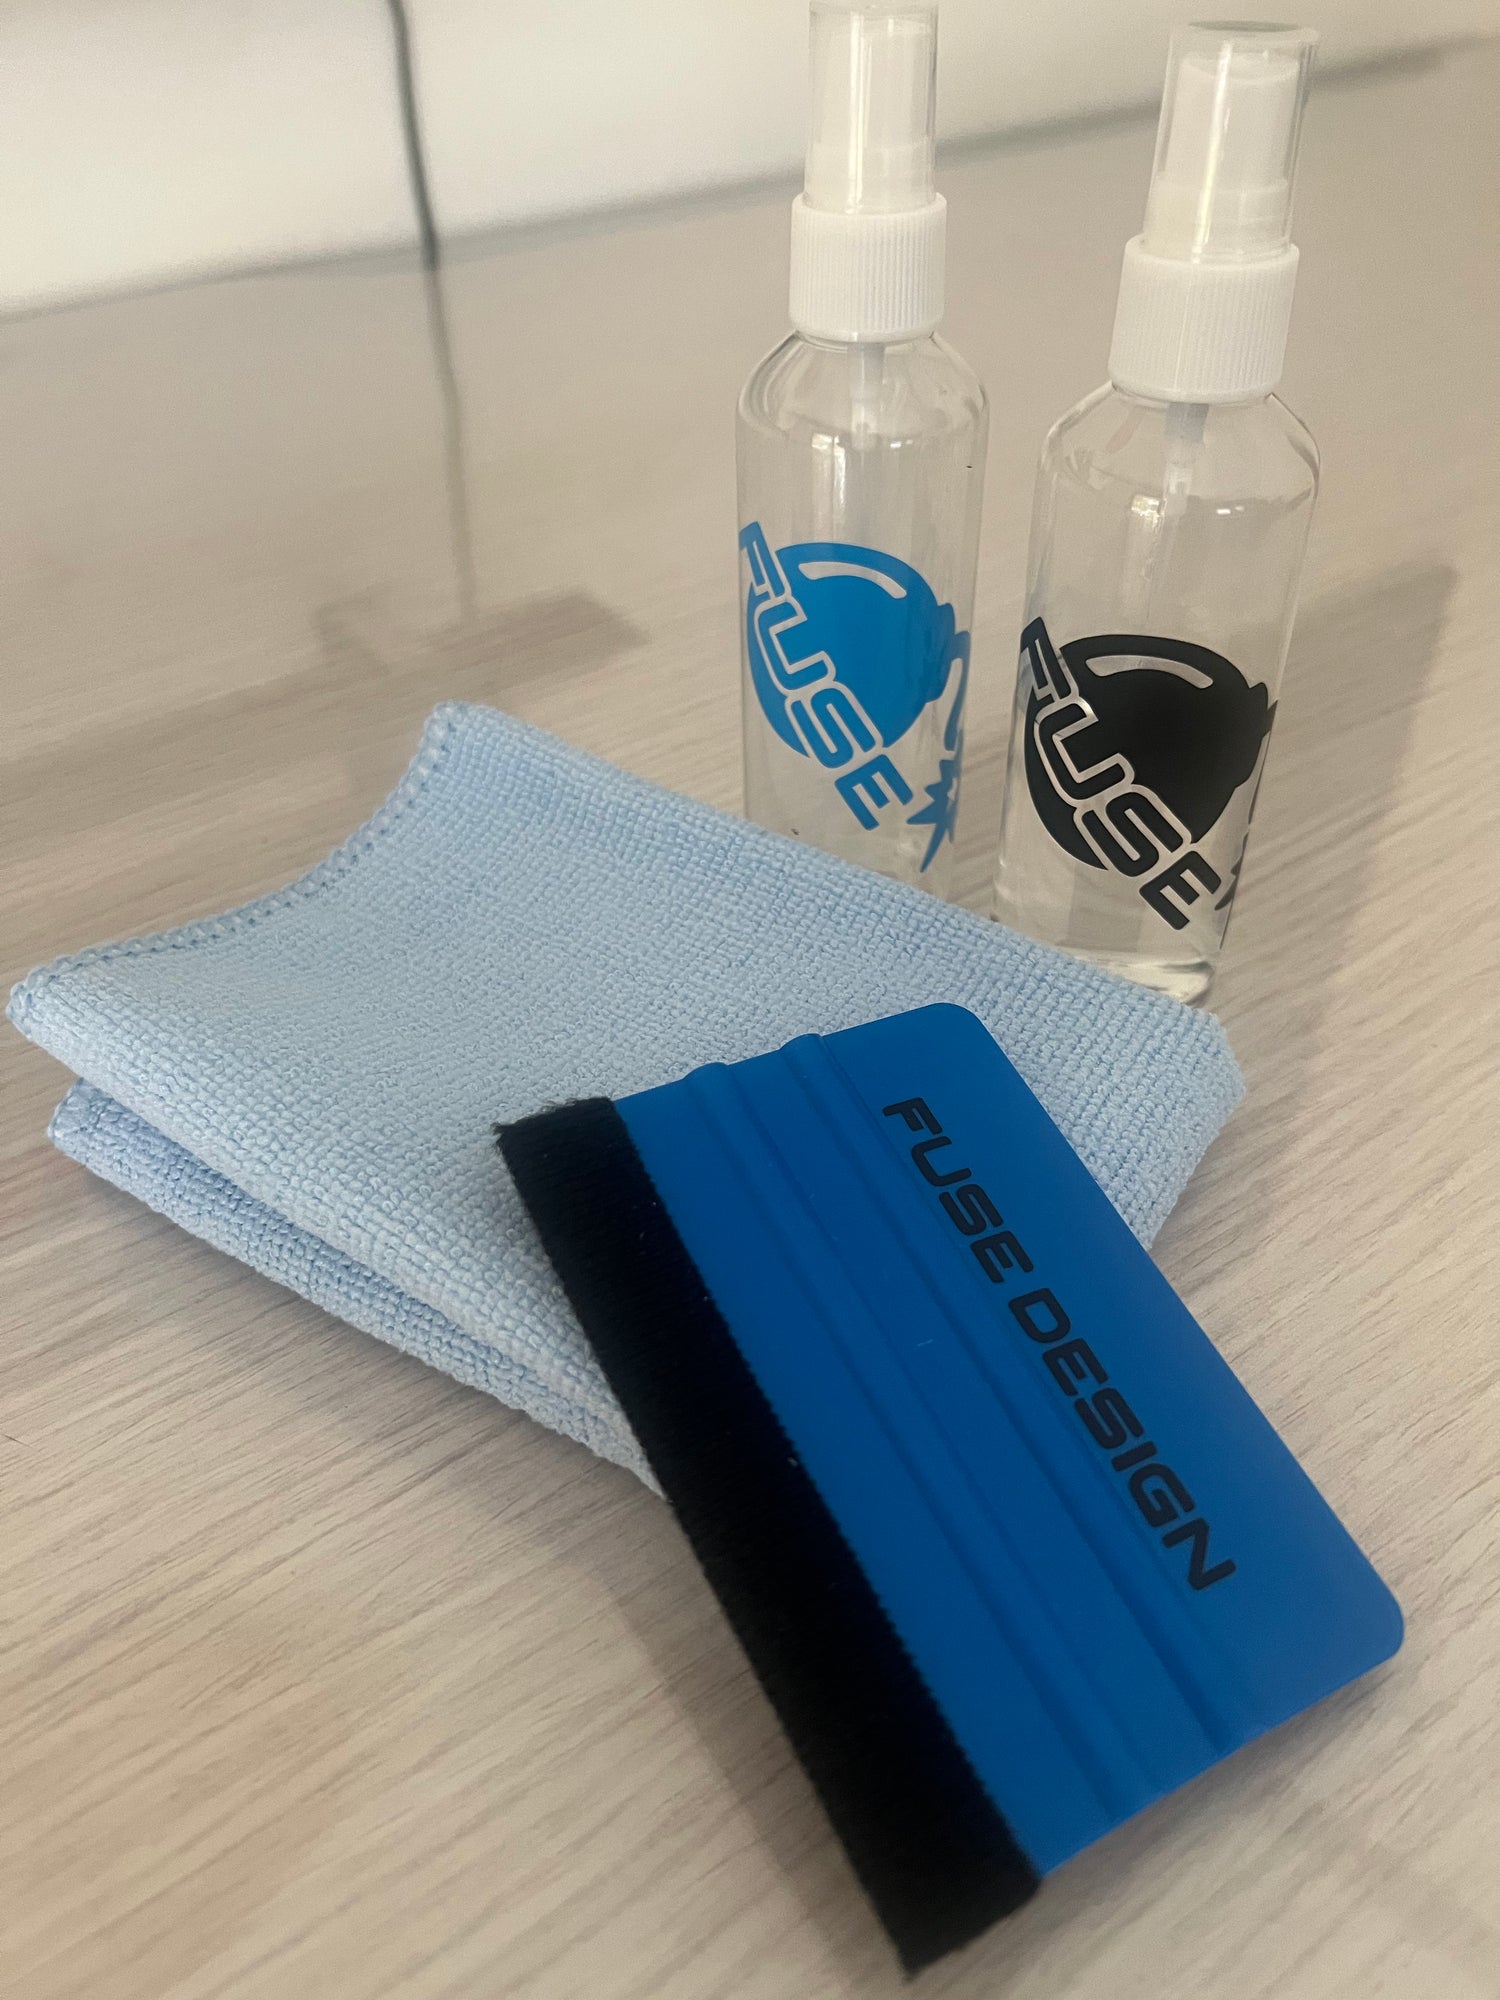
To make it easier to install yourself purchase one of our installation kits.
They contain:
Surface Prep/cleaning solution
Microfibre towel
Application spray (for wet install)
Felt covered squeegee